
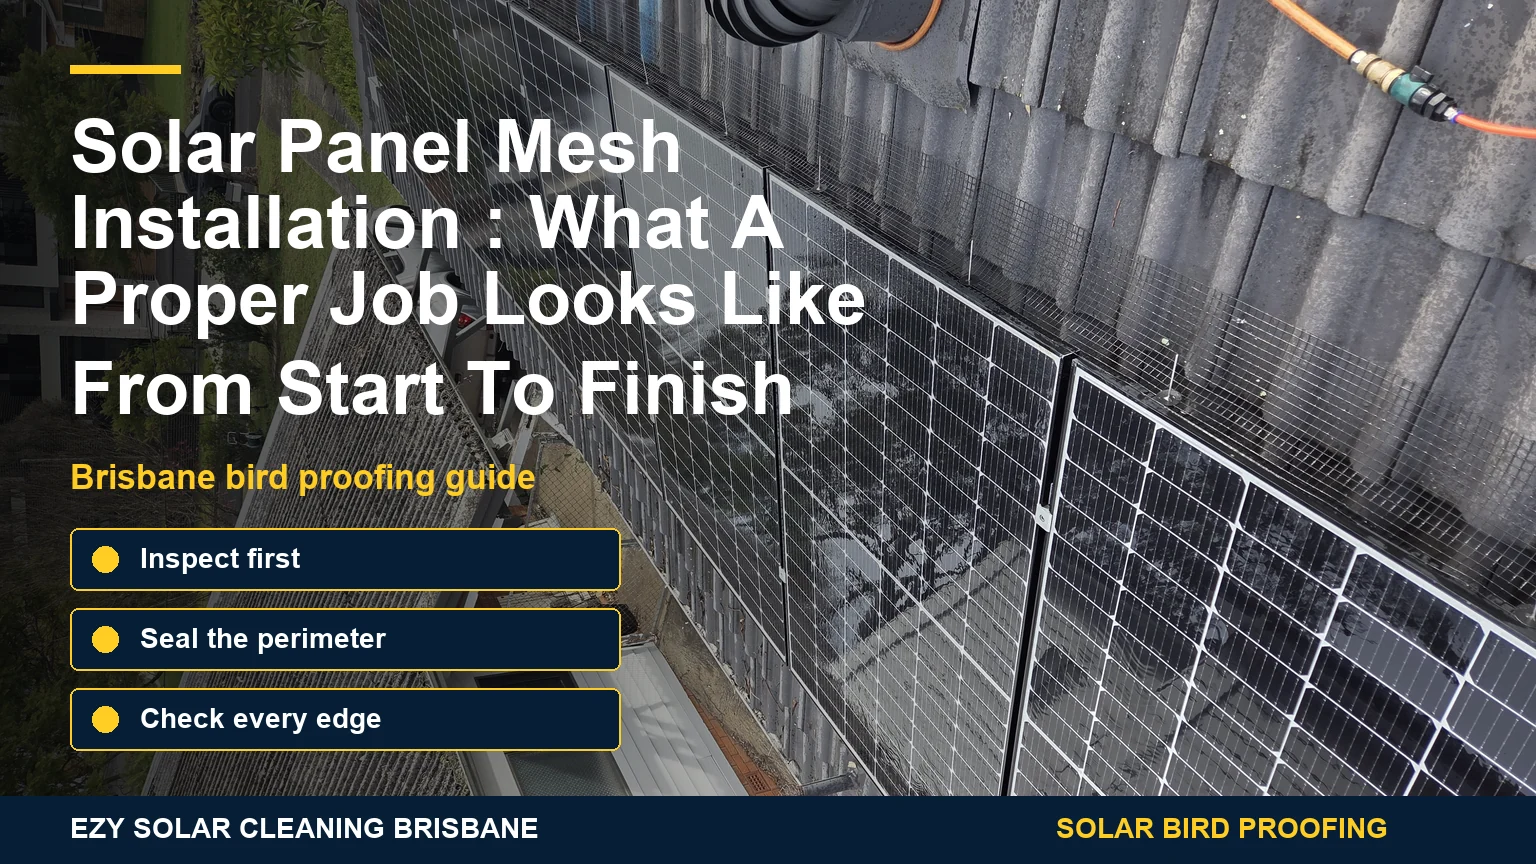
A proper solar panel mesh installation should do one simple thing well: stop birds getting under the panels. That means checking the roof, removing nests and debris where required, fitting mesh around the full exposed perimeter, securing it with suitable clips, closing corners neatly and checking that pigeons cannot squeeze back through hidden gaps.
For Brisbane homeowners, this is especially important because pigeon activity can continue through much of the year. If the mesh is rushed, loose or only installed on the easiest edge, the birds may keep testing the roof until they find a way back in.
Step 1: Understand what is happening on the roof
The first step is not the mesh. It is understanding the problem. Are birds only sitting on the roof, or are they entering under the panels? Is there nesting material? Are droppings collecting under one part of the roof? Are gutters blocked below the solar array?
Homeowners can help by sending safe ground-level photos and explaining what they have noticed. Morning cooing, scratching, flapping, repeated landing on the same panel edge and droppings below one roof section are all useful clues.
For early warning signs, the guide on how to tell if birds are nesting under your panels is a good reference.
Step 2: Plan the perimeter coverage
Bird mesh should protect the exposed access points around the solar array. On some roofs this is straightforward. On others, the panels are split into several arrays, mounted close to gutters, or arranged with gaps between rows.
The installer needs to look at the actual panel layout. A neat front edge is not enough if pigeons can enter from the sides, rear or a gap between panels. Full perimeter thinking is what makes the installation work.
| Installation area | What the installer should check |
|---|---|
| Front edge | Visible gap under the lower panel frame |
| Side edges | Open access where pigeons can enter from the roof surface |
| Rear edge | Often harder to see from the ground but still important |
| Corners | Common failure points if mesh is not shaped neatly |
| Gaps between arrays | Birds may move from one unprotected section to another |
| Panel row gaps | Some systems have hidden access between rows |
Step 3: Remove nests and debris where required
If pigeons have already nested, the space under the panels may contain sticks, feathers, droppings and other debris. Installing mesh over a contaminated area without dealing with the obvious build-up can leave the homeowner with a roof that is blocked off but still dirty underneath.
The level of clean-out depends on the roof and the quote. Some jobs are mainly preventative. Others need nest removal and cleaning after heavy activity. Solar panel cleaning may also be useful if droppings or grime are sitting on the panel surface.
Step 4: Use the right mesh and clips
The material matters. Brisbane sun and roof heat can be rough on weak plastic products. Quality bird proofing should use suitable mesh and clips that hold their shape and stay fitted around the panel edges.
EZY Solar Cleaning focuses on professional solar panel bird proofing with a neat mesh finish and no drilling into panels or the roof where applicable. The mesh needs to block the opening while still allowing normal ventilation around the panels.
Step 5: Shape corners and awkward edges properly
Corners are where many poor installations fail. A flat strip of mesh is easy to run along a straight edge, but solar arrays are not always that simple. Brackets, rails, roof angles and panel joins can create awkward spots where birds test the barrier.
A proper installer takes the time to shape and secure these areas rather than leaving a small opening. One gap can be enough for persistent pigeons.
Step 6: Check the finished job
After installation, the roof should be checked for obvious gaps, loose sections and unfinished corners. Before and after photos are useful because homeowners cannot always see the completed mesh from the ground.
The finished mesh may be visible up close, but it should not look messy or improvised. Black mesh generally blends better with the panel frame when fitted neatly.
What a proper job should not include
Avoid bird proofing that relies on shortcuts. Warning signs include drilling into panels, using adhesives as the main fixing method, leaving rear edges open, protecting only one side, using weak plastic mesh, or ignoring active nests under the panels.
The existing guide on common solar panel bird proofing mistakes goes deeper into the problems that can cause a job to fail.
After installation: will pigeons disappear straight away?
Not always. Pigeons may return to inspect the roof, especially if they have nested there before. That does not automatically mean the installation failed. The real test is whether they can still get underneath the panels.
If they cannot access the sheltered space, the roof becomes far less useful to them. Over time, they usually stop wasting energy on a place they can no longer enter.
FAQ
What is solar panel mesh installation?
It is the process of fitting mesh around solar panel edges so birds cannot access the sheltered gap underneath.
Does mesh installation damage solar panels?
Professional installation should use suitable clips and avoid drilling into panels or roof surfaces.
Does the whole panel perimeter need mesh?
The exposed access points should be protected. Partial coverage can leave entry points for birds.
Can mesh be installed if birds are already nesting?
Yes, but nests and debris may need to be removed before the mesh is fitted.
Will bird mesh stop airflow?
Properly installed mesh is designed to block bird access while allowing normal ventilation around the solar panels.
Should I install solar mesh myself?
DIY work involves roof safety risks and a higher chance of leaving gaps. Professional installation is usually the safer and more reliable option.