
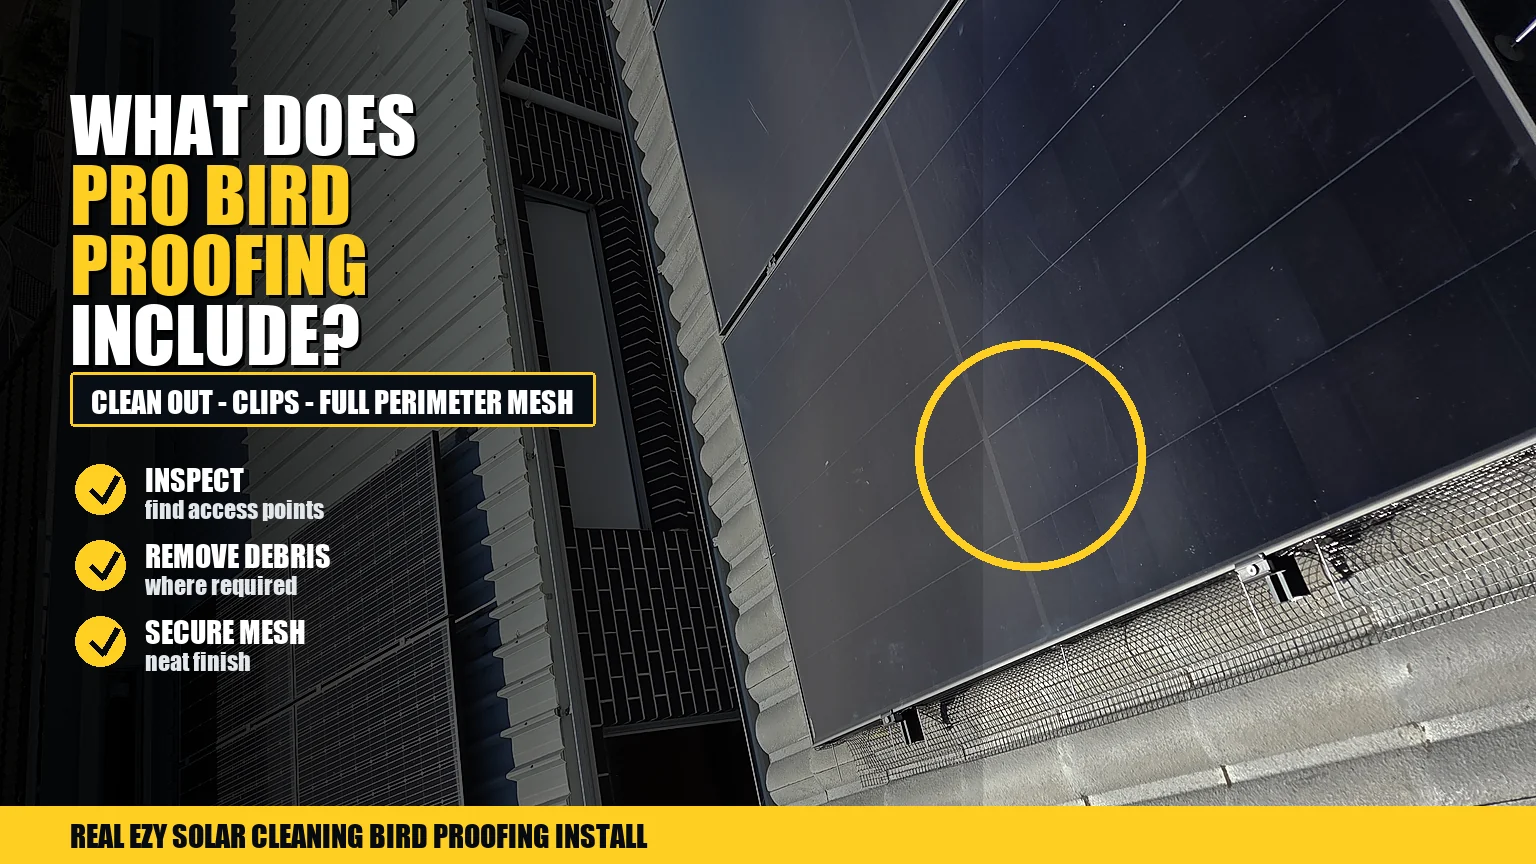
A professional solar panel bird proofing job should do more than place mesh around the easiest edge of the panels. The job should identify where birds are entering, remove accessible nesting material, protect the full panel perimeter, use suitable clips and mesh, and leave the roof area cleaner and harder for pigeons to use again.
For Brisbane homeowners, the details matter because pigeons can nest for much of the year and rooftop conditions can punish poor materials. A professional job is about solving the access problem properly, not just making the roof look protected from the ground.
It starts with checking the solar layout
The first step is understanding the property. The installer should look at the number of panels, how the arrays are arranged, roof height, roof type, gutter position, panel edges, and whether there are separate arrays on the main roof, garage, or extension.
This matters because birds can use the least obvious opening. A row gap, a rear edge, a side corner, or a garage array may be the real entry point. If the inspection only checks the front of the panels, the job can miss the area pigeons actually use.
Bird activity should be assessed before sealing
If pigeons are already nesting, the job needs to account for nests, feathers, droppings, eggshells, and other debris. A simple visual barrier is not enough if loose material is still sitting under the panels.
Homeowners often underestimate how much mess can be hidden under a solar array. Some only notice noise or a dirty gutter, then discover nesting material under the panels. If droppings are also on the panel glass, solar panel cleaning may be recommended as part of the service plan.
The mesh and clips should suit solar work
A professional solar panel bird proofing job should use quality mesh and suitable clips. In Brisbane, plastic mesh and cheap clips often do not hold up well to heat and UV exposure. The mesh should be strong enough to keep its shape and flexible enough to sit neatly around the panel perimeter.
The fixing method is just as important. The job should avoid drilling into panels or the roof. It should also avoid adhesives, silicone, or improvised fixings. The aim is a secure barrier attached to the panel frame with the correct clip approach.
What the job usually includes
| Stage | What should happen |
|---|---|
| Inspection | Check panel layout, access points, roof type, and bird activity |
| Debris removal | Remove accessible nests, feathers, and loose material before sealing |
| Mesh installation | Fit mesh around the full usable perimeter of the array |
| Clip fitting | Use suitable clips without drilling into panels or roof surfaces |
| Detail work | Shape corners, side edges, row gaps, and tricky sections carefully |
| Final check | Confirm there are no obvious entry points left open |
Full coverage is the part homeowners cannot see
From the ground, a bird proofing job may look finished if the front edge has mesh. But the hidden sides matter more. Pigeons can enter from behind the array, between rows, beside brackets, or around a corner.
A proper job checks the whole system. If there are multiple panel groups, each one should be considered. Protecting the main roof while leaving the garage panels open can simply move the bird problem.
What a professional should not promise
A good installer should be confident, but not careless with claims. Bird proofing does not mean pigeons will never land on the roof again. It means they should not be able to access the sheltered area underneath the panels.
If birds were nesting there before, they may return and inspect the old spot for a while. That does not mean the mesh failed. The key question is whether they can get under the panels. You can read more in can pigeons come back after solar panel bird proofing.
How to prepare for the visit
Clear safe access where possible and provide photos if the quote was arranged remotely. Useful photos include the front of the home, panel layout, garage panels if any, roof height, and visible droppings or gutter mess. Do not climb onto the roof to take photos.
If you are still deciding between professional and DIY, compare this with DIY vs professional solar panel bird proofing.
The bottom line
A professional solar panel bird proofing job includes inspection, nest and debris removal where needed, quality mesh, suitable clips, full perimeter coverage, and a final check for gaps. It should solve the access problem under the panels, not just cover the visible edge.
FAQs
Do the solar panels need to be removed?
In most cases, no. Mesh is usually fitted around the perimeter without removing the panels.
Is cleaning included in bird proofing?
It depends on the job. Nest removal is different from panel cleaning, but cleaning may be recommended if droppings are on the glass.
How long does bird proofing take?
Timing depends on panel count, roof access, debris, and layout. Simple jobs are faster than heavily contaminated or complex arrays.
Will mesh damage the panels?
A proper no-drill installation uses suitable clips and avoids drilling into panels or the roof.
What makes a job professional?
Quality materials, careful clipping, full coverage, safe access, clean-up where needed, and no obvious gaps left for birds.
What homeowners should see after the job
After a professional bird proofing job, the roof should look tidier and the panel edges should be protected without obvious loose sections. The mesh should not look like a temporary patch, and it should not hang down into the gutter. If birds were active before the job, you may still see them inspect the roof for a while, but they should not be able to get under the panels.
It is also reasonable to ask what was found under the panels. Photos or a clear explanation can help you understand whether there were nests, droppings, feathers, or blocked gutter areas that may need ongoing attention.